Inspiration
Check Out These 15 High-Design Products

I love innovative design in technology. When used correctly, it can serve a valuable purpose, allowing us to save time and spend it on more important things like family and friends. Check out these 15 high-design products. Can you see yourself using any of these?
I know I can!
However, this list totally inspired me and sparked even more ideas I think are perfect for us Photographers who balance style, functionality, and performance, elevating both out work and our experience behind the camera:
Here’s a list of 15 high-design products for photographers that balance style, functionality, and performance, elevating both their work and their experience behind the camera:
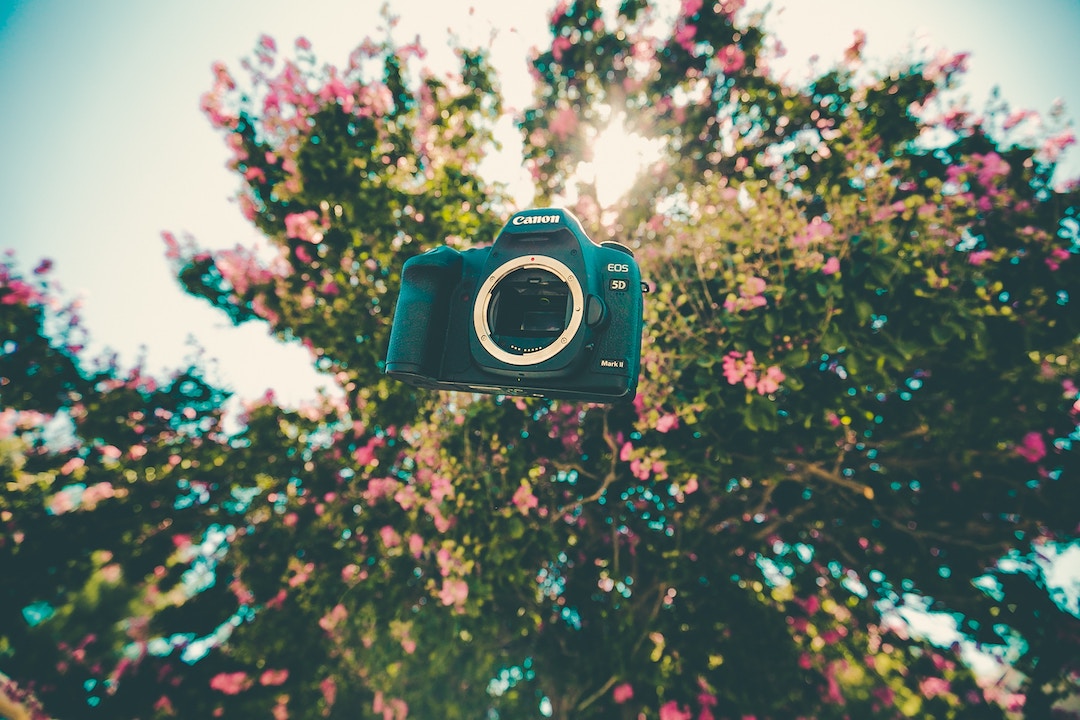
1. ONA Bowery Camera Bag
Why it stands out: Crafted from premium leather and waxed canvas, this camera bag combines elegance with protection. Compact but capable of holding a DSLR and extra lens, it looks as good in the city as it does on a shoot.
2. Peak Design Travel Tripod
Why it stands out: Minimalist yet incredibly functional, this ultra-compact tripod is designed to collapse to the diameter of a water bottle, without sacrificing stability. Perfect for photographers on the move.
3. Fujifilm X100V
Why it stands out: This sleek, retro-styled compact camera delivers high-quality images with a fixed 23mm lens, appealing to both enthusiasts and professionals who appreciate a classic design.
4. Leica Q2
Why it stands out: The Leica Q2 is a full-frame camera that fuses Leica’s signature build quality and minimal design with powerful features. A favorite for street and travel photographers who value both aesthetics and image quality.
5. Gitzo Series 1 Traveler Carbon Fiber Tripod
Why it stands out: This high-end, lightweight tripod offers robust support for photographers looking for a premium travel companion. Its carbon-fiber construction makes it strong yet portable.
6. Wotancraft Scout Camera Bag
Why it stands out: Combining vintage aesthetics with modern functionality, this rugged leather camera bag is designed for both style and practicality. Ideal for photographers who need an eye-catching bag without compromising on space.
7. MagMod MagSphere
Why it stands out: A beautifully simple, innovative light modifier made from silicone rubber that creates soft, even lighting. Perfect for portrait and event photographers looking for an elegant solution to enhance their flash photography.
8. Moment Smartphone Lenses
Why it stands out: For photographers who love to shoot with their phones, these add-on lenses bring professional-quality optics to smartphone photography, packaged in a sleek and portable design.
9. Benro Aero 2 Travel Video Tripod Kit
Why it stands out: A tripod with an integrated video head, combining robust construction with portability. Its compact design and stylish finish make it great for both videographers and photographers.
10. HoldFast Gear MoneyMaker Multi-Camera Harness
Why it stands out: A fashionable, high-quality leather harness that allows photographers to carry two cameras comfortably. With a vintage Western-inspired design, it’s as functional as it is fashionable for wedding and event photographers.
11. Hasselblad 907X Special Edition
Why it stands out: This medium format camera is a throwback to Hasselblad’s iconic design, featuring a minimalist, futuristic body while maintaining high-resolution imaging capabilities. It’s a showpiece for studio and fine art photographers.
12. Joby GorillaPod 5K Kit
Why it stands out: Its flexible, articulated legs provide versatility for mounting cameras in unconventional ways. A high-design product for vloggers, travel photographers, and those who need a tripod in unpredictable environments.
13. Twelve South BookBook CaddySack
Why it stands out: A stylish leather travel organizer for cables, adapters, and small camera accessories. It looks like a vintage book, adding a sense of sophistication to a photographer’s kit.
14. Instax Mini Evo Hybrid Instant Camera
Why it stands out: This instant camera combines analog charm with digital convenience, producing tangible prints in seconds while boasting a sleek and stylish retro design.
15. Manfrotto Pro Light Reloader Air-55 Roller Bag
Why it stands out: A high-design camera roller bag made for traveling photographers. The bag offers ample protection for gear, while its design allows it to be carried onto airplanes, combining both form and function for professionals on the go.
These products reflect a balance of design, usability, and quality, making them perfect for photographers who appreciate aesthetics and innovation as much as performance.


Most professional photographers swear that the best time to take photos outside is usually during the “golden hour.” This is the time of day that has the best lighting. Below we will discuss what golden hour is and how you should take advantage of it.
Lighting is the one thing that can make or break a photograph. You can have a stunning portrait model or an incredible landscape, but with poor lighting, you will be left with a dull photograph. Poor lighting brings forth flat and uninspiring photos.
This is why it’s imperative that you find the best time of day when shooting your outdoor scene. Do not be alarmed, both amateur and professional photographers have been pondering over this problem since the invention of the camera. They have come up with the perfect answer to this predicament – the golden hour.
What’s the Golden Hour?
A few photographers also call the golden hour, the magic hour. This is usually the last hour of light before the sun sets and the first hour of light after sunrise. It should be noted that the exact duration of the golden hour varies between seasons.
During these two times, the sun is low in the sky, thus producing a soft and diffused light which is extremely flattering. This is unlike the harsh midday sunlight when most of us take pictures. You should note that lighting during the magic hour is soft, warm and diffused.
This type of light is known to produce less contrast thus reducing the overall chances of losing parts of your images in blown-out highlights or strong shadows. The warmness adds an overall pleasant feeling to the scene. The long shadows on the other hand help to pick out details and this helps by adding texture and depth to the image.
There are fewer people during dawn and dusk giving you a chance to take your photographs with relative ease and peace.
When to Use the Golden Hour
Any type of outdoor photography can apply and use the golden hour rule. Landscapes and city scenes are also a good choice for the magic hour rule. Outdoor portraits and other shots of plants, flowers and still life cars are a good choice for the golden hour rule.
Calculating the Magic Hour
The easiest and quickest way of calculating the times of two daily golden hours can be found HERE: http://www.golden-hour.com. It has been verified by most professional photographers who claim the calculator produces very accurate times.
If you want to work out things on your own, you need to start finding out your local sunrise and sunset times. The easiest way of doing this is by using an online sunrise and sunset calculator which can be found HERE: https://www.timeanddate.com/sun.
During sunrise, the golden hour will continue for about an hour. The second magic hour usually runs between an hour before sunset and finish immediately after sunset.
Hints for Shooting quality Pictures:
Once you know what you are going to photograph and when, you should take your camera out and start shooting. Before you do so, consider the following tips to ensure things go smoothly and you make the most out of your photography experience:
Using a Tripod
During sunrise and sunset, the scene is usually dark, you should wait for it to get lighter. Set your camera on a steady tripod and set the ISO nice and low not forgetting to use a long exposure.
Have ample time to set up
The golden hours are known to start suddenly, you should prepare adequately beforehand. Get to your location early even if it means starting your journey during the middle of the night.
Keep Shooting
During each golden hour, you will notice that the light changes quickly and the scenery changes suddenly too. Instead of taking one or two photographs and heading home, you should plan to stay for an entire hour.
Taking photographs during the golden hour is without a doubt an inspiration to photographers all over the world. It means having to go around with your camera at odd hours, which is worth the sacrifice. You should give the golden hour a chance and see how it will transform your photography.
Happy Shooting
We hope that you have found useful information about the best time of day to take photographs in natural light.

Photography is the art of getting beauty and emotion (good or bad) in your own view and let the world enjoy or feel.
It is just like painting, the image was first created in the mind of the artist, then it was placed on the canvas, so anyone who sees it enjoys it by the artist’s way of image or in its own view. It is similar to photography too! It is very fascinating for all f us because the emotion of seeing photography can change from person to person.
The picture lets you tell the story with your own eyes. Well, technically speaking, photography is actually a science, art, application, and practice of creating strong images by recording light.
It sounds pretty simple scientifically, but it’s not that simple. It requires a huge amount of skill to even capture a good quality picture. Professionals know it all, that is the reason we all get so many pictures for soothing our eyes.
So, are you a professional photographer, but do not know how to get ahead in your life by making money? That is mainly because you have doubts regarding how much will you even make by getting this hobby in work.
So, getting excited? Here, we will tell you how much a professional photographer actually makes by doing it full time.
Well, the fact that you are a professional, does not really matter much in this field (you should have skills) but what actually matters is where and how you are letting your work pay off.
For example, a professional indie photographer does not earn much. He or she gets a rough annual income of around $20,000 to $30,000. Why? That is because indie photographers generally upload their goods on picture markets which are randomly bought by buyers and people who actually don’t want a copyright claim on them.
As an indie photographer, you may experience various ups and downs in your salary or monthly income as buyers don’t come in a constant way to you.
If you are a well-trained professional working in big companies like National Geographic, then your life is pretty close to luxury now. You can easily earn more than $200,000 per annum without much sweat taking effort. But the greatest problem which arises is that the work is harder, constant and more likely to be out of the station.
The salary of professional company photographers also varies according to the niche of photography you are in.
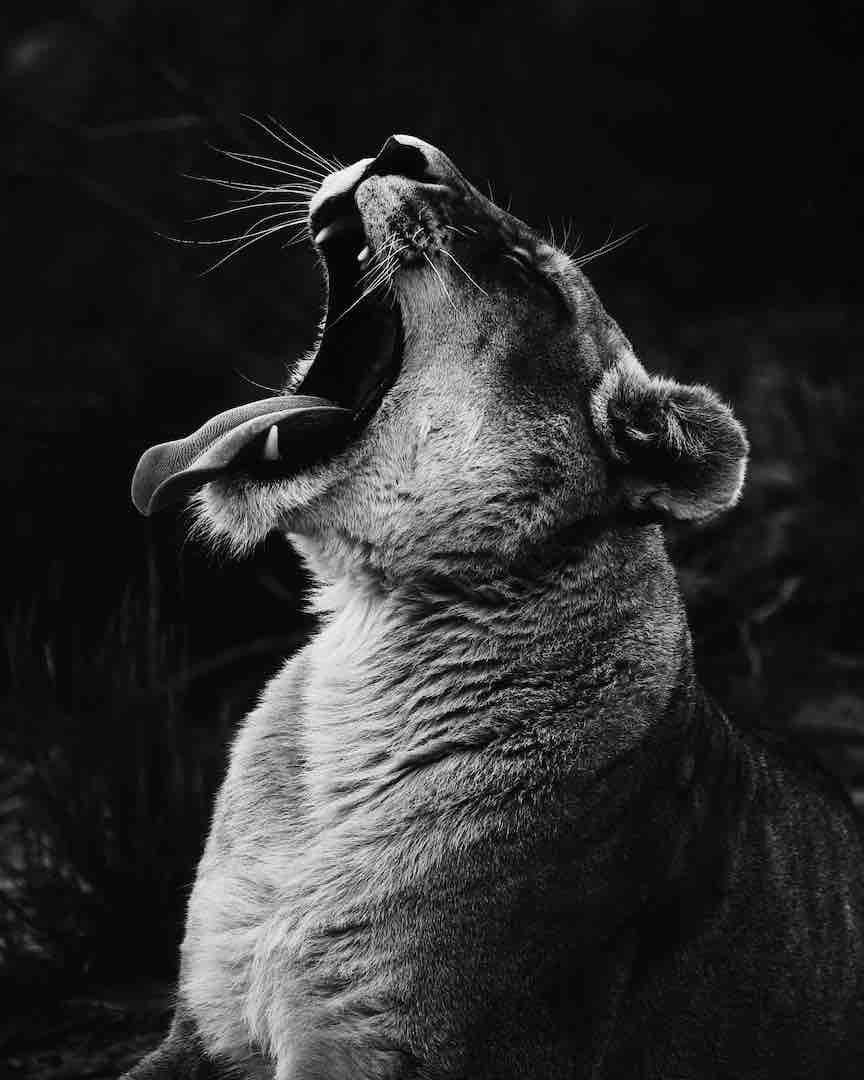
◆ If you are interested in the wildlife niche, you can easily get a decent pay off of $300,000. Why is it like this? This is because, in today’s generation, wildlife pictures are one of the most important. They mean a lot when a particularly rare species os captured on the reel.
Let us now discuss how much a professional can earn on each level:
● Student level
At photography schools, the rate varies greatly. As you can be on an internship or even an indie uploader, your rate may vary from $25 to $100 per image. That is actually not that bad!
● Semi-Professional level
These photographers may get in some good paying company, so they can easily get an easy amount of $25 to $125 per image. The difference here from the student level is that the payments are generally regular.
● Professionals
This is the point where every photographer wants to reach, but it is not as easy to reach as to say. Just saying that you are a professional doesn’t make you a professional in actuality. You have to have multiple testimonials and awards to reach this level. The average payment at this point in time is actually $75 to $250 per image. That is definitely high!
● Top Professionals
If you are at the level of a top professional, your life is set. You can easily have a team of professional photographers with you as their lead photographer. You can easily get an average of $250 to $1500 per image! Isn’t that really amazing?
As said, photography is one of the most soothing hobbies which has proven to pay off whether you are at a beginner level or a professional level. Do not worry about your salary, just keep up the quality of your photographs.

With the best of intentions, some people try to learn how to set up a wedding photography business but end up spending more money than they planned. They want to be successful when just the opposite occurs. They lose business because they don’t know what they’re doing.
Since you’re already set on a niche, that part is done for you. Committing one thing elevates your idea into something more concrete. The only thing now to do is to focus on the specifics. Also, some business sense will come in handy.
Business Mindset
Before you set up a wedding photography business, you need to identify your goals. Do you want to be able to make a living? Do you want to be able to retire comfortably? Is there a specific kind of image you want to capture that you can’t get through traditional marketing?
Setting up a wedding photography business is not easy and it takes careful planning. The first thing you need to do is decide if you want to make a living from this business or retire comfortably. You should never set up a wedding photography business without knowing how much you can realistically spend.
Wedding Planner
Once you know the answers to the important questions, you can start planning how to set up a wedding photography business. Your plans need to include multiple aspects to be successful and make an income.
Do you plan to set up a wedding photography business in a small town or a city? You need to select a location with low overhead costs. For example, in a small town, you’ll probably need to rent a reception hall or a location in a mall.
You also need to consider the budget you have for your wedding photography business. This will help you decide how many cameras you need to purchase and how many weddings you need to photograph each month. After all, if you make enough money from your business, you’ll quickly grow.
Did you read that correctly? You need to set aside a certain amount of money each month just for the expense of buying cameras and other equipment. To have money left over for your marketing, you’ll need to set a budget.
Photography Specifications
Having decided that you want to set up a wedding photography business, you’re now ready to select your camera equipment. Of course, it’s easier to rent cameras than it is to purchase them. Therefore, you need to keep that in mind when you’re planning your next move.
Consider the types of cameras you need.
You should consider a range of brands such as Hasselblad, Canon, Nikon, Olympus, and Sony. The quality of these cameras depends on the type of image they produce. Therefore, consider what you want from your wedding photographs before you select the camera that will provide you with the best quality image.
Next, you need to decide what type of lens you need to use on your camera. This will also depend on the type of image you want to capture. For example, if you’re photographing a black-and-white wedding, you should use one type of lens. If you want to take a color photo, you should use another.
What kind of printer should you use to print out your wedding photos? While it’s true that you can buy your prints online, you may find that your local printing company is cheaper.
Therefore, you need to make sure that your local printer is proficient at printing wedding photographs. Most photographers find that they need to have printouts made by the same printer they use for their regular photography.
Now that you know how to set up a wedding photography business, it’s time to get started. This guide is most of what you need to know to take the first step. All you need to do now is research specific cameras and determine your marketing plan.
It’s a good idea to create a list of all of your needs before you start planning how to set up a wedding photography business.
You need to create a monthly budget so that you won’t get so caught up in the excitement of making as much money as possible that you forget about the needs of your wedding photography business.
3 Videos About The Best Affordable Camera For Wildlife Photography You Should Watch.
5 Black Friday Deals On Canon Cameras You Need to Know About
5 Steps to Finding the Best Place to Buy a GoPro (That ANYONE Can Follow)

What’s the difference between analog and digital photography?
How To Do Photography | Tips on learning the business side of photography!

The essential difference between a camera that shoots film or a camera that shoots digital is…


-
Tutorials7 years ago
What’s the difference between analog and digital photography?
-
 DSLR Photography18 years ago
How To Do Photography | Tips on learning the business side of photography!
-
Photography Tips7 years ago
The essential difference between a camera that shoots film or a camera that shoots digital is…
-
 Business9 years ago
How to create a Facebook page for Photography Business
-
 Photography Tips7 years ago
Do Freelance Photographers Need a Business License?
-
 Business & Career10 years ago
21 Photography Tips for Fun & Creative Family Portrait Photography Ideas!
-
Best DSLR Camera7 years ago
3 Videos About The Best Affordable Camera For Wildlife Photography You Should Watch.
-
 Business9 years ago
How to Get Your Photography Business off the Ground