Photo Effects
Five Basic Shots for Beginning Filmmakers
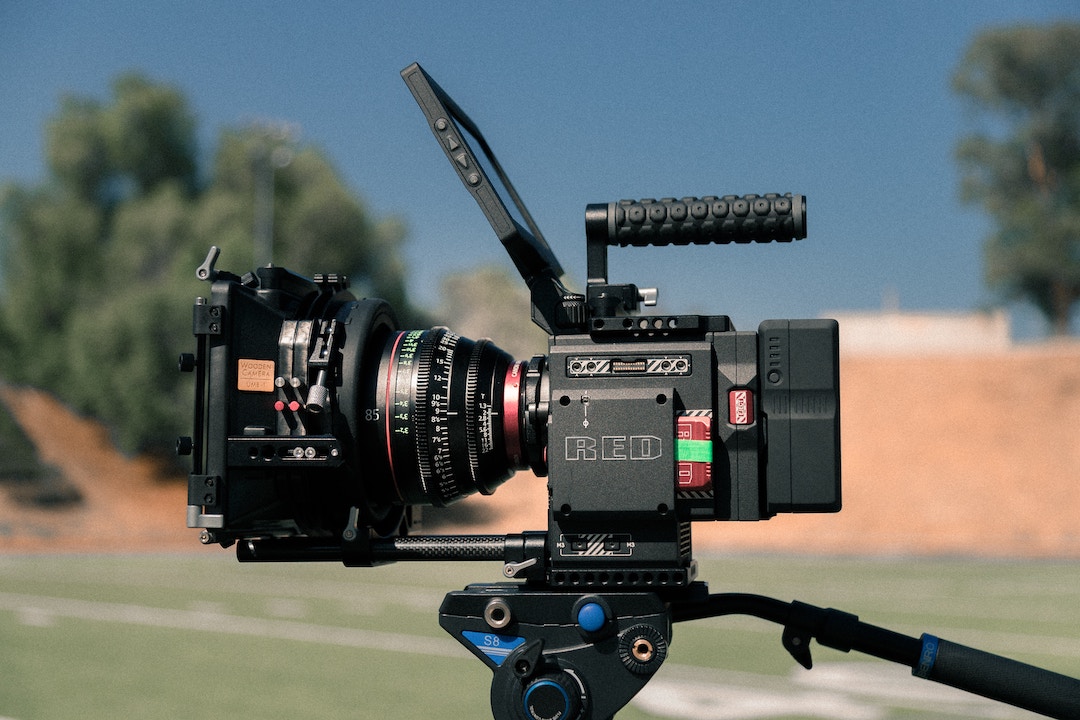
After watching a one or two-hour film, you are left wondering what made you stick for that long to watch pictures? You may think that the piece of art was achieved by just picking up a camera, taking a shot or pressing start and stop on the record button. You are wrong. Filming needs art and techniques.
If you are wondering the type of skills need to begin filming, you are at the right place since we are here to give you detailed information on the types of shots and how to have fun with 5 basic shots in a film.
Establishing shot
As a filmmaker, you have to show your viewers the setting and context of your film. A wide shot showing a city, a house before going closer into the action will create a visual introduction to the eye watching.
Viewers can identify the set of your film from your establishing shot. A shot showing a hospital will create an environment and even characters before the film emphasizes details on what’s going on.
Although you can use many shots as establishers, we recommend an extreme wide shot for the purpose since it gives more information compared to others. Make sure to apply camera movements such as pan to create the mood and spectacle.
A still shot that may seem boring to the eye. Have in mind that this shot will attract or chase away your audience since it introduces your film!
Medium shot
A frame showing a character’s waist upwards is standard in many films. You require the skill of applying this type of shot. You can decide to show background details or not by regulating the depth of focus. You have to consider the kind of actions in the background how it relates to the subject to decide.
We need this shot since it creates a close relationship with the audience as if they are talking to the character on the screen. Usually, medium shots are still, and they interchange depending on the number of characters on set. Use this shot mostly in dialogues and scenes with fewer actions.
Close up shots
The need to show more details on the characters or actions performed should be in your mind when filming. Close-ups give details of what’s happening. When an antagonist and a protagonist meet, you need to show their facial expressions and emotions before at each other.
Be sure of why you need this shot, the type of mood needed and how it influences your audience. As a beginning filmmaker, we suggest you use close-up shots to show reactions and results of an action such as a bullet hole on a face to make the audience believe and be emotionally attached to the film.
Point of View
Sometimes the camera plays the role of a character’s eyes. When shooting a vigorous action scene, you need to break the monotony of showing an action and a character in the frame. A camera can be used to show what a character is looking at or doing.
This shot enables you to show details of an action and create emotions and anticipation to the audience. There is also a smooth connection between the character and the action. Make sure that the camera movement compliments what the character’s movement to enhance continuity.
Cutaway shot
You need this shot since it helps you to draw the audience to your film as it breaks down the monotony of watching a character for too long. You may also need to get rid of unwanted scenes in your film, a cutaway shot will help to conceal by placing action in between the dialogue scene.
A cutaway shot enables the story to flow and brings realism to the film. Imagine watching an actor or actress speak for two minutes in a single shot? it is going to be boring. But by showing the listener’s shot, your audience will stay glued since there is visual diversity displayed.
There are other several shots that are required to make the film interesting. But the mentioned shots are very vital when beginning your film career. Take time to learn them and how to have fun with 5 basic shots in film and make a film worth watching!
Remember film is a visual way of talking with your audience hence the need to specialize, understand and apply the necessary filming skills.
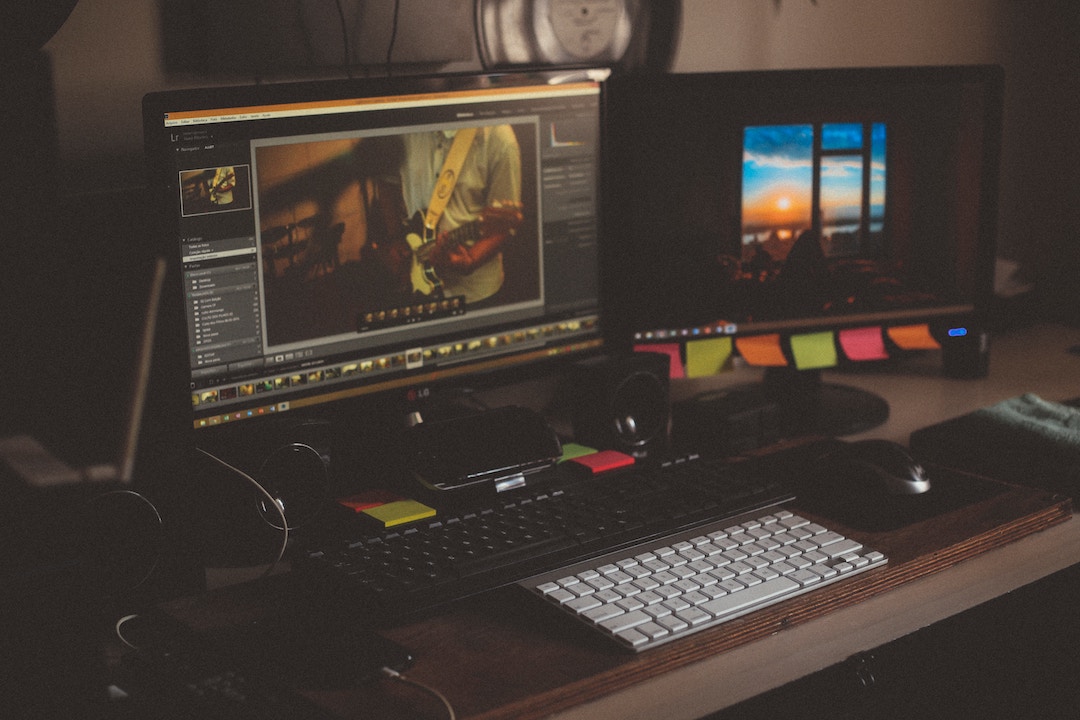
Photo editing requires much carefulness because when editing a photo you encounter many errors and you tend to do a lot of work on the photograph. Soft wares like Adobe Photoshop are the most popularly known for editing photographs. In order to edit a photograph like a professional ensure that you are understanding aspects to deal with in the photo.
When editing your photograph, put into mind these key things to edit: saturation, colors, retouch blemishes, hue, smoothness, and brightness, this key thing when well worked on can change your normal photograph into an awesome amazing photograph.
It is always very hard especially for a new photographer to edit photographs into the amazingly different way, photo editing requires a lot of practice and experiences, but with this new current technological world, it is very easy to edit a photograph like a professional. There are many provided steps you can go through, understand and implement them.
8 ACTIONALBLE STEPS THAT WILL ENABLE YOU TO EDIT PHOTOGRAPHS LIKE A PROFESSIONAL:
There are steps that help you edit your photographs and make them look awesome. You actually don’t need to spend a whole day or even days editing photos. You just need to understand these steps and you are ready to set off. The steps are very easy and simple. The step favors phone users and camera users.
1. Ensure that you have a good photo base.
The background in which you take your photographs contributes a lot to photo editing. Bad photographs which may have been taken from bad backgrounds will affect the editing of your photograph.
Make an attempt of taking photographs indirectly from the sunlight, avoid using the flash as much as you can and also ensure that the environment around which you are taking your photograph is clean, clear and nice as well. This will be the best first step that will lead to the best results.
2. Choose the best photo editing software.
Currently, there is much software meant for photo editing. Among this photo editing soft wares there are those that perform the best than the others. Thus when editing your photograph ensure that you use the best tool is likely to bring out the best results.
We recommend that when taking photographs using your Android or iPhone edit photographs using Adobe Photoshop if you are using windows and mac use either Picasa or iPhoto for the best results. And if you are using an online browser for photos ensure that you edit the photographs using Pixler or the Picmonkey.
3. Crop the photographs.
This is the easiest and fastest step but also very crucial in photo editing. Crop the photographs to remove the unwanted and destructive parts. When cropping put into consideration the desired size, ensure that you don’t make the photograph too small, keep it in a normal size.
4. Adjust the photograph’s brightness.
Bright and clear photographs are always great. Many photographs taken indoors should be improved their brightness. When doing this you should be cautious also, don’t put too much brightness on the photograph and also don’t put very low brightness.
Too much brightness can cause your photo to have blowouts. Ensure that you reduce the shadows in a wise manner.
5. Saturations.
You need to be very careful when dealing with this because saturating your photos so much will cause harm to them. The main purpose of saturation is to make the colors in your photo deeper and make them more vibrant.
When dealing on this part ensure that you keep in mind the intention of retaining the original color for your photo, don’t overstate the color and also don’t understate it.
6. Hue.
The background in which you take your photos in determines the colors of our photos. It is easy to edit the colors of your photo. Blue and yellow colors are the most colors that tend to appear on your photograph. It is crucial to edit the colors and get your photograph back to their normal colors.
7. Contrast.
Contrast is best and mostly used to edit black and white images to ensure that the dark part colored is darker and the light part remains lighter. High contrast is most recommendable when doing photograph edit in black and white photos.
8. Addition of text to photographs.
This is always not much important, but in the cases where it is necessary to add a text to your photograph ensure that you use the space to create a text. In the case where there is no empty space make the color of your text quite transparent. Make the text easy to read and appealing.
By going through the above steps before starting editing your photo will enable you to edit your photograph with easy and become an amazing photograph. There are thousands of things to do when editing photographs but the above steps are the most crucial and important.
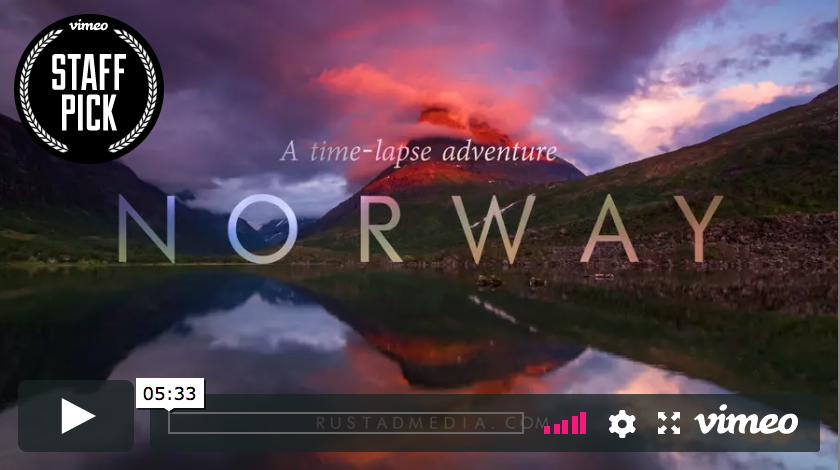
Time lapse photography is so interesting to me. It freezes the seconds we live everyday into something we can visually see.
Here are two beautiful time lapse videos I found on Vimeo & YouTube.
Makes me want to start practicing!
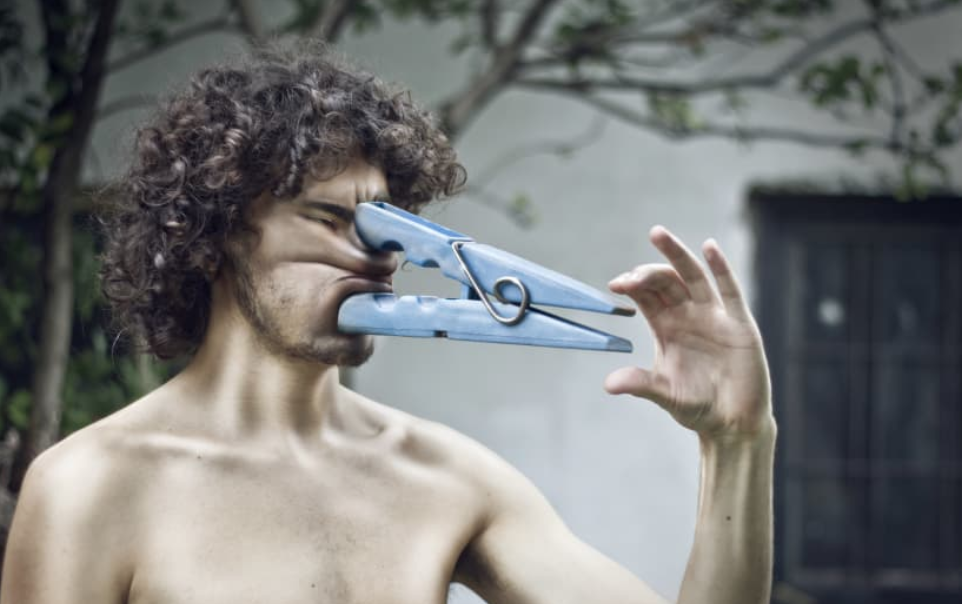
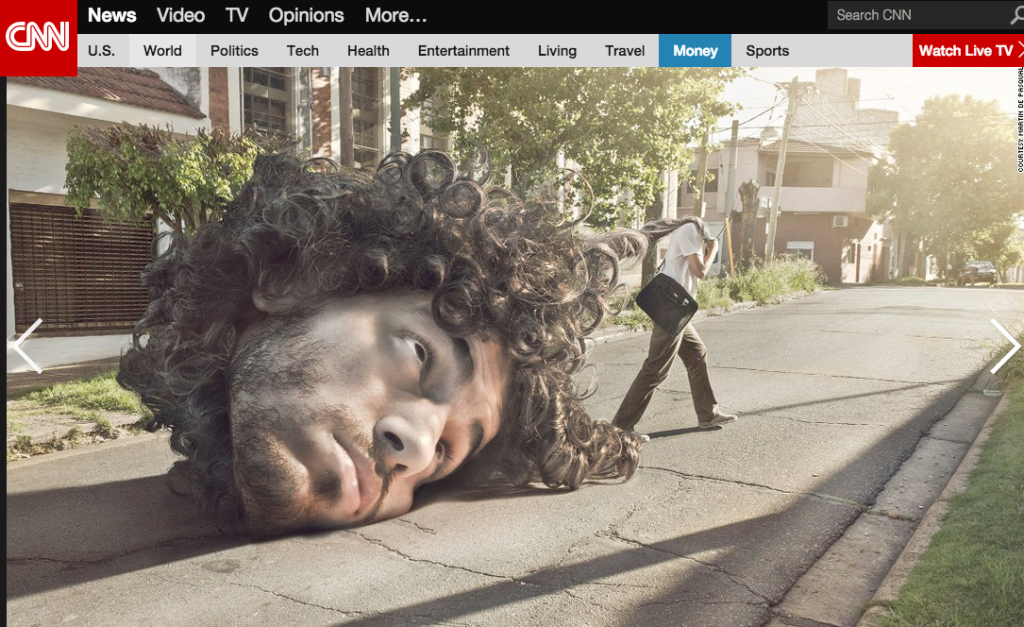
Trick Photography Is A World Of It’s Own.
There are limitless possibilities with Photoshop. I don’t know how you CAN’T love it. I ran across this post on CNN with images from this incredible photoshop artist.
Photo manipulation can become addicting. If you have an imagination and understand how to use the tools, you can conquer the world! 😉
You can see all the cool images here: Photo Effects – Cool Trick Photography Images On CNN
3 Videos About The Best Affordable Camera For Wildlife Photography You Should Watch.
5 Black Friday Deals On Canon Cameras You Need to Know About
5 Steps to Finding the Best Place to Buy a GoPro (That ANYONE Can Follow)


-
 Tutorials5 years ago
What’s the difference between analog and digital photography?
-
 Gear7 years ago
Lorem ipsum dolor sit amet
-
Business & Career11 years ago
The Anatomy of a Great product photography business
-
 Photography Tips5 years ago
The essential difference between a camera that shoots film or a camera that shoots digital is…
-
 Technique7 years ago
According to Dior Couture, this taboo fashion accessory is back
-
 Graphic & Web Design7 years ago
The old and New Edition cast comes together to perform
-
 Education & Learning7 years ago
Phillies’ Aaron Altherr makes mind-boggling barehanded play
-
 Cinematography7 years ago
The Ultimate Glossary of Terms About product photography business